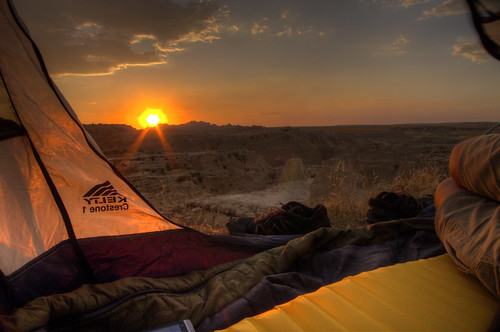
|
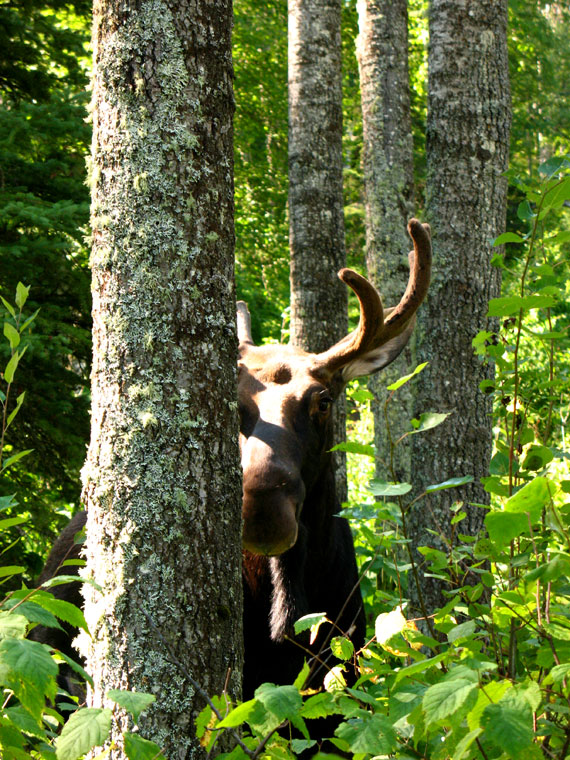
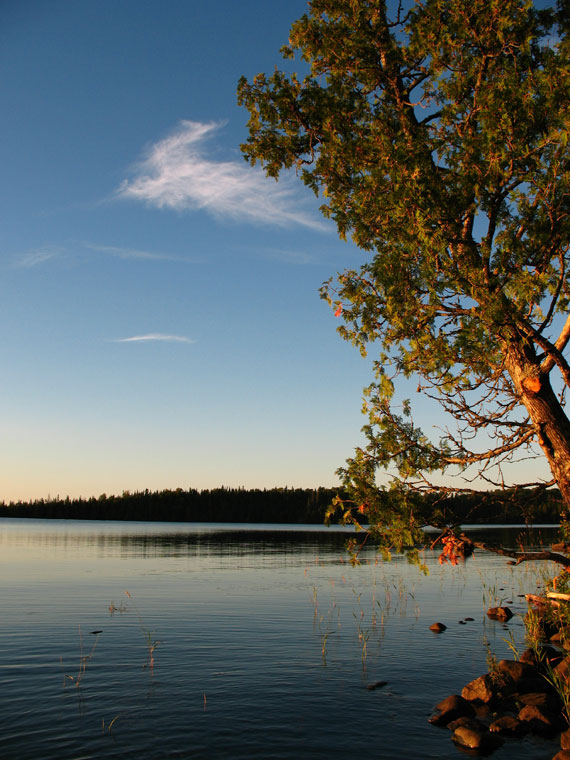
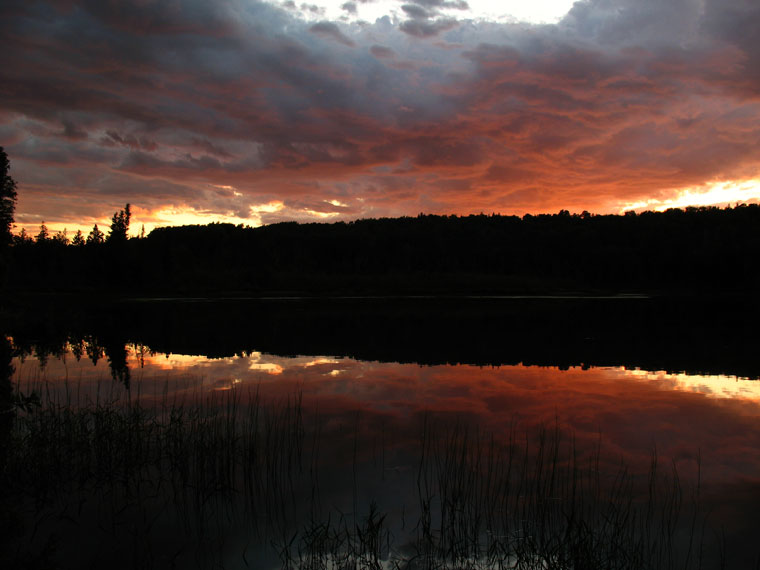
| (Photo: The AT in November, Tennessee) |
VM: Okay, so now that I am in Chicago for the next month and have survived two blizzards with names already, I have been thinking a lot about the snow... Rumor has it we may encounter snow for the first couple of weeks and the last couple of weeks during our hike. Granted it's just frozen rain, but what things should we prepare for (mentally, physically, and with gear,) in terms of making sure we are ready to handle this type of weather?
 RG: You will likely have to hike in some snow and sleep in freezing temperatures, but since you're hiking the AT from April to August, you’ll probably miss all the heavy stuff.
The weather usually turns mild in the Smokies by mid-April. It can snow at high altitudes any time of year in New Hampshire and Maine, but their heavy snow doesn't usually fall before October.
That said, you don't need a blizzard to be concerned about the weather. Hypothermia, for example, is a concern even above freezing temperatures. Know the signs and begin your hike with warmer gear than you think you'll need. It's always best to err on the side of caution in the beginning. Don't worry about the end of your trip right now, because once you made it all the way to New Hampshire, you'll know what to do.
Even though you'll miss the heavy snow season, you'll still have your fair share of nasty weather. It’s inevitable on such a long trip. You don’t have the luxury of choosing the most pleasant time of year to be in a particular area.
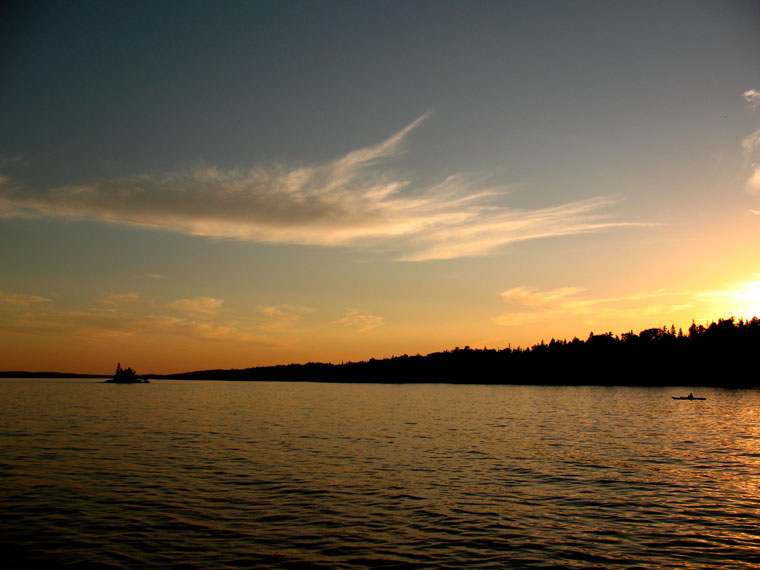
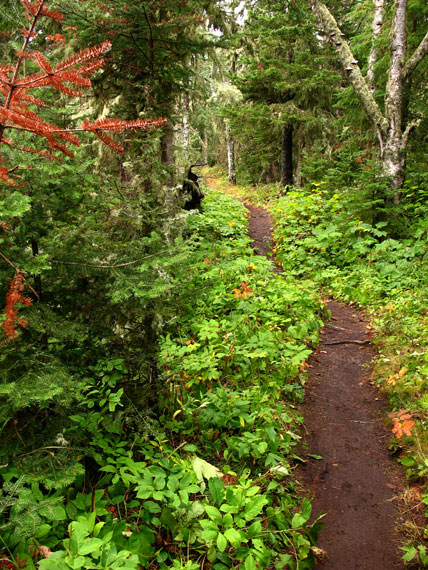
There were downpours in Maine and New Hampshire that turned the trail into a cascading stream in minutes. I sprinted across mountain balds toward the safety of trees with lightning cracking above my head. We hunkered down in a high mountain shelter while Hurricane Irene decimated the small towns down river. Floods from Tropical Storm Lee knocked down footbridges which forced me to wade through knee-high water and slog through thick mud that threatened to suck the shoes off my feet.
There were downpours in Maine and New Hampshire that turned the trail into a cascading stream in minutes. I sprinted across mountain balds toward the safety of trees with lightning cracking above my head. We hunkered down in a high mountain shelter while Hurricane Irene decimated the small towns down river. Floods from Tropical Storm Lee knocked down footbridges which forced me to wade through knee-high water and slog through thick mud that threatened to suck the shoes off my feet.
 |
| (Photo: Frozen shoe) |
Surprisingly, I love all of those experiences. They are all part of the adventure. Anyway, it's not the short-term extreme weather that has the most potential to crush your morale on the AT. It's the long stretches of unrelenting rain, especially when it's cold.
The good news is there is a lot you can do to keep spirits high. My first tip probably seems a bit obvious:
Check the forecast every few days...
Sixteen miles into our day on the Long Trail in Vermont, Red and I stopped at a shelter for water. The forecast said nasty weather was coming our way. We filled our bottles in a creek then sat in the shelter to eat a quick snack.

“So what do you think?”
By this point, we could read each other’s minds well enough to leave the next question unspoken, “Do we stay here or head to the next shelter?” It was six miles away and nine to the next road.
It was cold and we hadn't seen two consecutive days without rain in two weeks. My injured knee ached worse than ever. Needless to say, my morale was low.
I wanted to stop for the night, but the forecast said the worst of the storm would begin at midnight and continue through the following day. There would be high winds and heavy rain until temperatures dropped below freezing. By morning, there would be sleet, ice, and possibly snow. It was too late to get to the road before dark and even though hitching is easy during the day, nobody has ever offered to pick me up at night.
I wanted to stop for the night, but the forecast said the worst of the storm would begin at midnight and continue through the following day. There would be high winds and heavy rain until temperatures dropped below freezing. By morning, there would be sleet, ice, and possibly snow. It was too late to get to the road before dark and even though hitching is easy during the day, nobody has ever offered to pick me up at night.
“If we go to the next shelter, we’ll only have three miles to hike in the morning then we can wait it out in town.”
So that’s what we did. Since we knew the forecast, we were able to avoid the worst of the weather and get our spirits back up. If I'm remembering this right, we ended up staying with someone in a social house at Burlington University during pledge week.
That leads me to my second bit of advice:
Treat morale as though it needs to be nurtured as much as health and hunger.
Thinking of the number of miles you have to Maine can be daunting at times, especially in bad weather. Try to only focus on getting to the next resupply town. And remember that on such a long trail, nothing stays the same very long. The terrain and weather could be different the next day. Here are a few other ways to help morale on the trail:
• Carry an extra day of food if bad weather could be headed your way. You may want to have the option to take a day off or wait out a morning rain storm.
• Hitch into town. If a long stretch of rain or cold weather has you down, drying your clothes in a laundromat then eating a hot meal can go a long way to turning that around. Actually when you're living a deprived life on the trail, simple things like that can turn a horrible mood into a deliriously happy one.
• Share misery with others. Bad weather is a lot easier to deal with when you're sitting in a shelter at the end of the day sharing it with others. It usually just turns into something to laugh at.
• Sing as you hike like nobody can hear you. There is a good chance nobody can anyway, especially during a hard rain. I sang a lot on the trail. My playlist often included Driting by Pearl Jam, King of the Road by Roger Miller, Wagon Wheel by Old Crow Medicine Show, and for some reason Fat-Bottom Girls by Queen.
• Listen to music on your phone or MP3 player. It has the power to get you up the next mountain or just take your mind off of pain and discomfort. On a bad day, sometimes I listened to a storytelling podcast like This American Life, The Moth, or NPR's Snap Judgement.
• Build a campfire.
• Pack plenty of comfort food. If you're not looking forward to another pot of ramen noodles at the end of the day, your food can do very little to put you in a better mood.
• Change your gear. If it isn't cutting it or not keeping you warm enough, there are many outfitters along the trail. Of course, it's always best to avoid gear issues before you head to Springer, so here are some suggestions:
Gear
In the beginning, if you're not sure what you'll need to stay warm enough, pack extra. You can always send unneeded gear home later or leave it in a hiker box. Being cold is worse than a pack that is one or two pounds heavier, in my opinion.
Clothing
The first commandment of backpacking is, “Thou Shalt Not Wear Cotton.” Many inexperienced backpackers have come down a mountain with that commandment metaphorically chiseled in stone. Cotton gets heavy when wet and takes forever to dry.
That leads me to my second bit of advice:
Treat morale as though it needs to be nurtured as much as health and hunger.
 |
| (Photo: Lightfoot's Frozen Beard, October in Virginia) |
• Carry an extra day of food if bad weather could be headed your way. You may want to have the option to take a day off or wait out a morning rain storm.
• Hitch into town. If a long stretch of rain or cold weather has you down, drying your clothes in a laundromat then eating a hot meal can go a long way to turning that around. Actually when you're living a deprived life on the trail, simple things like that can turn a horrible mood into a deliriously happy one.
• Share misery with others. Bad weather is a lot easier to deal with when you're sitting in a shelter at the end of the day sharing it with others. It usually just turns into something to laugh at.
• Sing as you hike like nobody can hear you. There is a good chance nobody can anyway, especially during a hard rain. I sang a lot on the trail. My playlist often included Driting by Pearl Jam, King of the Road by Roger Miller, Wagon Wheel by Old Crow Medicine Show, and for some reason Fat-Bottom Girls by Queen.
• Listen to music on your phone or MP3 player. It has the power to get you up the next mountain or just take your mind off of pain and discomfort. On a bad day, sometimes I listened to a storytelling podcast like This American Life, The Moth, or NPR's Snap Judgement.
• Build a campfire.
• Pack plenty of comfort food. If you're not looking forward to another pot of ramen noodles at the end of the day, your food can do very little to put you in a better mood.
• Change your gear. If it isn't cutting it or not keeping you warm enough, there are many outfitters along the trail. Of course, it's always best to avoid gear issues before you head to Springer, so here are some suggestions:
Gear
In the beginning, if you're not sure what you'll need to stay warm enough, pack extra. You can always send unneeded gear home later or leave it in a hiker box. Being cold is worse than a pack that is one or two pounds heavier, in my opinion.
Clothing
The first commandment of backpacking is, “Thou Shalt Not Wear Cotton.” Many inexperienced backpackers have come down a mountain with that commandment metaphorically chiseled in stone. Cotton gets heavy when wet and takes forever to dry.
 |
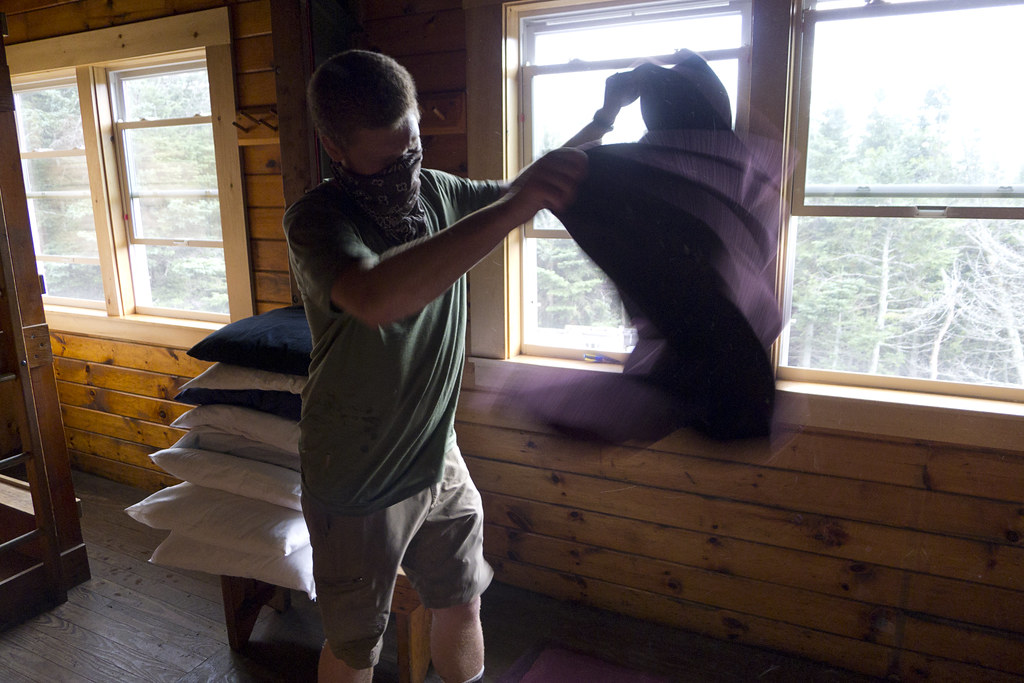
| (Photo: Bandanna as a scarf) |
One final thing about clothes, never let yourself sweat that much in cold weather. Sweat can kill if the temperature is low enough. It's far better to shed a few layers of clothing before you begin hiking, even if you're a little bit cold at first.
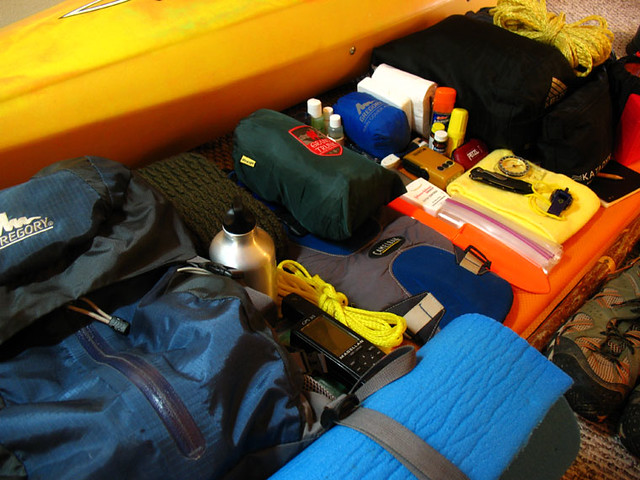
Waterproof Stuff Sacks and Bag Liners
On our second day, a fellow thru-hiker slipped while fording our first river in Maine. His bag went into the water. That's when we learned he didn't have anything waterproofed. His sleeping bag, tent, digital camera, and all of his clothes were soaked. The camera never worked again and that night, while trying to dry his clothes over a fire, he burned holes in his socks, shoes, and sleeping bag. To his credit, this seemed to have no negative effect on his mood, but it could have been easily avoided.
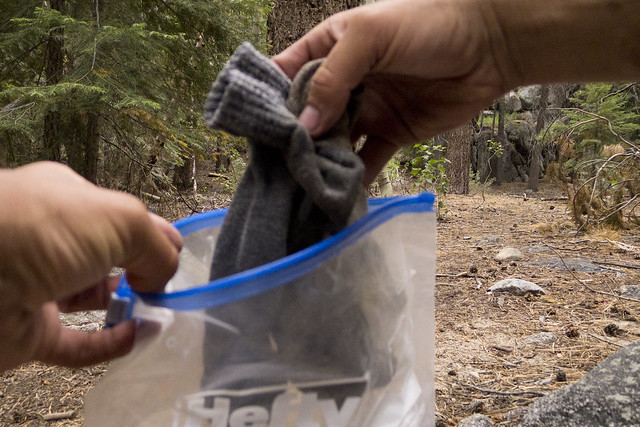
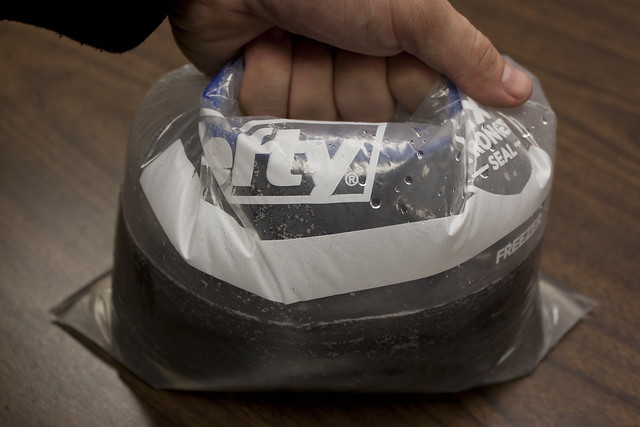
I use a trash compactor bag as a pack liner (click here) and keep my sleeping bag in a waterproof stuff sack for added protection. My camera and other sensitive gear is stored in Ziploc bags. I don't bother with a pack rain cover anymore. I find them to be quite useless except for protecting your backpack while bushwhacking.
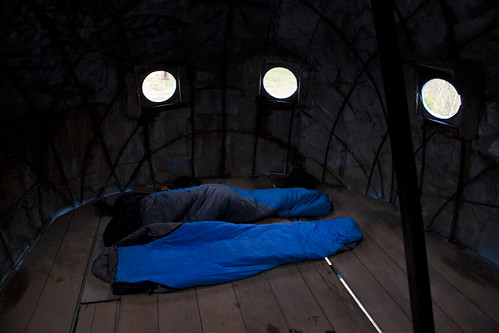
Sleeping Bag
If you're cold at night, consider replacing your sleeping bag or buying a sleeping bag liner.The latter will only add 5-10 degrees of warmth, but has other benefits as well (click here). For me, sleeping bag temperature ratings are about 15 degrees lower than what I find comfortable, but it's different for everyone.
 Wet feet
Hiking for days with wet feet is not fun, to say the least. I usually carry three pairs of socks, so I can be sure to have a dry pair at the end of the day and in the morning. One of the three is a pair of toe sock liners that I wear when my feet get wet. Wet socks chafe the tops of my toes until they have been rubbed painfully raw. That was one of my biggest foot issues on the AT. The toe sock liners eliminated this problem.
You will ford a few rivers and creeks, especially in the north. Since it might be cold when you're up there, consider packing a pair of lightweight shoes to ford in like Crocs. Going barefoot in some of these boulder-filled creek beds is a broken ankle waiting to happen and you don't want to soak your only pair of hiking boots on a cold day. Crocs are cheap, light, and available in many stores along the way.
Sleeping Bag
If you're cold at night, consider replacing your sleeping bag or buying a sleeping bag liner.The latter will only add 5-10 degrees of warmth, but has other benefits as well (click here). For me, sleeping bag temperature ratings are about 15 degrees lower than what I find comfortable, but it's different for everyone.
Wet feetHiking for days with wet feet is not fun, to say the least. I usually carry three pairs of socks, so I can be sure to have a dry pair at the end of the day and in the morning. One of the three is a pair of toe sock liners that I wear when my feet get wet. Wet socks chafe the tops of my toes until they have been rubbed painfully raw. That was one of my biggest foot issues on the AT. The toe sock liners eliminated this problem.
You will ford a few rivers and creeks, especially in the north. Since it might be cold when you're up there, consider packing a pair of lightweight shoes to ford in like Crocs. Going barefoot in some of these boulder-filled creek beds is a broken ankle waiting to happen and you don't want to soak your only pair of hiking boots on a cold day. Crocs are cheap, light, and available in many stores along the way.
Daytime temperatures never dropped very far below 25 degrees when I was on the AT, so I never really had cold feet until I got to camp. It doesn't take long to realize how cold it is once you stop moving and nightime temperatures got as low as 15 degrees. It's good to have a dry pair of socks ready to put on.
Drying Your Socks
Before bed, I dry out the wet pair by first wringing them out as best I can. I spread a camp towel out on the ground, put my socks on top, and then roll them up like a burrito... a repulsive, smelly burrito. Then I squeeze that or walk on it to draw the water out of my socks and into the towel. This works best if you carry a super-absorbent camp towel, like this one, or get a shammy at a dollar store to save money. Finally, put the damp socks in your sleeping bag at night and your body heat will dry them out by morning.
 Gaiters
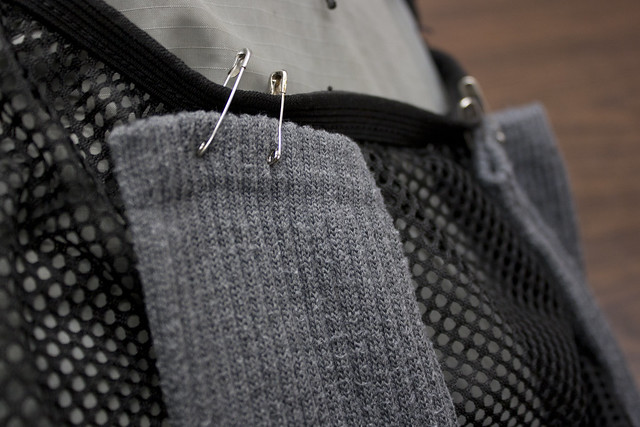
Gaiters can help keep snow out of your shoes, but I have never bothered with them. My friend Lightfoot had some success by just tying his bandannas around the tops of his shoes and ankles. They'll still get wet, but they'll keep the bulk of the snow out. It helps to have a couple safety pins to secure them. Bandannas are one of the most versatile things you can carry and I also use the safety pins to pin wet clothes to the outside of my pack or to a clothesline to dry.
Waterproof Boots
I personally avoid waterproof boots or shoes. I can see their utility in more extreme conditions, but when you're hiking all day in the snow or rain, your feet will get wet no matter what shoes you wear. If not with rain water, than with sweat. Waterproof boots can also take longer to dry, so I think it's better to just go with shoes that dry quickly.
Other tips for Dry Feet
My friends Sam and Liv showed me that newspaper stuffed into a wet shoe overnight will help dry it out. The paper also works as fire starter and I suppose reading the news, but the news really doesn't belong out there.
Drying Your Socks
Before bed, I dry out the wet pair by first wringing them out as best I can. I spread a camp towel out on the ground, put my socks on top, and then roll them up like a burrito... a repulsive, smelly burrito. Then I squeeze that or walk on it to draw the water out of my socks and into the towel. This works best if you carry a super-absorbent camp towel, like this one, or get a shammy at a dollar store to save money. Finally, put the damp socks in your sleeping bag at night and your body heat will dry them out by morning.
GaitersGaiters can help keep snow out of your shoes, but I have never bothered with them. My friend Lightfoot had some success by just tying his bandannas around the tops of his shoes and ankles. They'll still get wet, but they'll keep the bulk of the snow out. It helps to have a couple safety pins to secure them. Bandannas are one of the most versatile things you can carry and I also use the safety pins to pin wet clothes to the outside of my pack or to a clothesline to dry.
Waterproof Boots
I personally avoid waterproof boots or shoes. I can see their utility in more extreme conditions, but when you're hiking all day in the snow or rain, your feet will get wet no matter what shoes you wear. If not with rain water, than with sweat. Waterproof boots can also take longer to dry, so I think it's better to just go with shoes that dry quickly.
Other tips for Dry Feet
My friends Sam and Liv showed me that newspaper stuffed into a wet shoe overnight will help dry it out. The paper also works as fire starter and I suppose reading the news, but the news really doesn't belong out there.
You can put a plastic grocery bag, or even better a bread or tortilla bag, between two layers of socks to keep your feet dry and warm. Not a great solution for hiking all day since it doesn't allow your foot to breath, but it works well at camp or when hiking short distances. If one of those socks is a thin sock liner, it will keep your shoes from being too tight.
You can do the same with a pair of latex gloves under your regular gloves.
 |
| (Photo: Slippery Trail) |
Hiking in snow is considerably more exhausting since it is harder to get traction. Consequently, when planning your day, expect to either hike longer or hike shorter distances.
Trekking Poles
Although an ice ax and crampons are not needed during April and August on the AT, some sections could be hazardous when covered in ice or snow. This is why I recommend trekking poles. They also help you move quicker over snow and ice.
 |
| (Photo: The AT in Late-October, Virginia) |
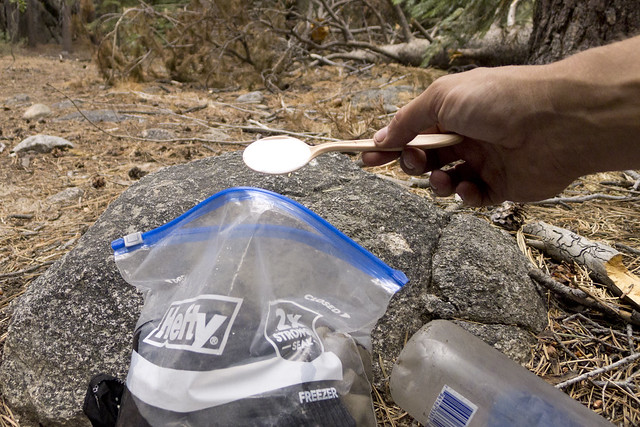
Pack a hot beverage. It can warm you up quite a bit before bed. In cold weather I think I enjoy the steaming hot mug in my hands more than the drink itself.
Pack a few hand warmers, just in case. I never used them during the day, but if the cold kept me awake at night, I would place one on my chest or near my feet in my sleeping bag. Just don't fall asleep with them directly on your skin or they could uhh... actually just click here and read this short cautionary tale.
 |
| (Photo: The Beard) |
Sorry that was so long, but luckily the extra length means I have room for one more photo. Since I'm talking about snow I'm posting this one of me again. How glorious is that beard? I mean honestly.
More Q&As with Victor:
Bugs and other Pests on the Appalachian Trail
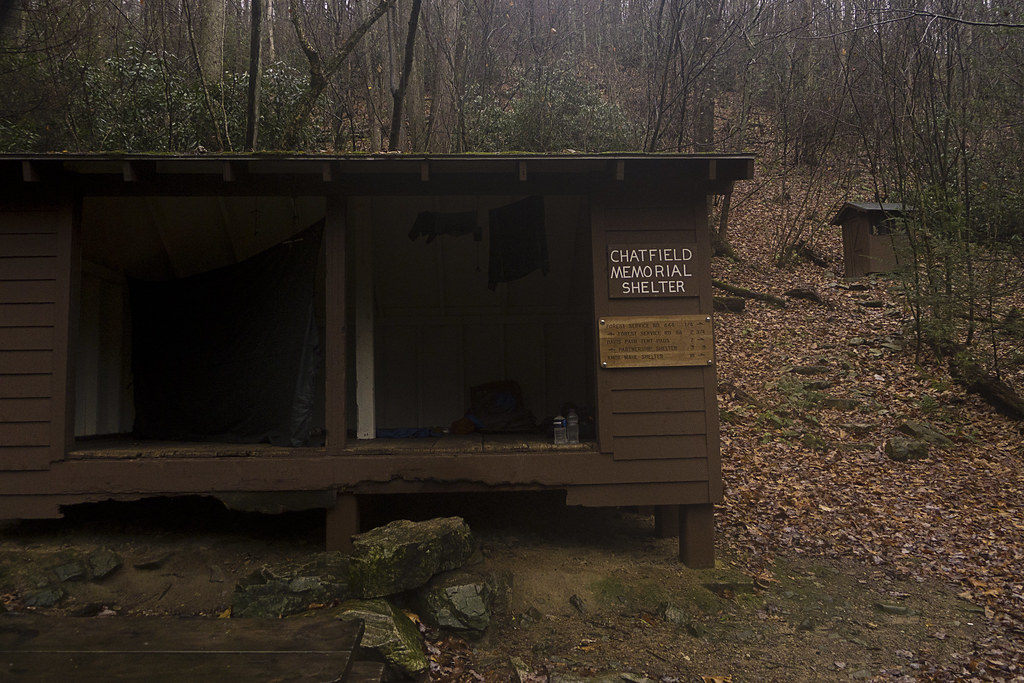
Shelters Vs. Tents on the Appalachian Trail
Knives on the Appalachian Trail
Hiking with Visitors on the Appalachian Trail
Online Mail Drops on the Appalachian Trail

A Backpacker's Life List by Ryan Grayson is licensed under a
Creative Commons Attribution-NonCommercial-NoDerivs 3.0 Unported License.
Creative Commons Attribution-NonCommercial-NoDerivs 3.0 Unported License.
com.jpg)